Installing some fun games at your backyard parties is a fun way to get the things spiced up. Boost your kid’s entertainment with these 8 easy to build DIY Plinko board plans that are never-ending fun. You will love the way the DIY Plinko game will make the kids and adults busy. These DIY Plinko board projects involve building all sorts of Plinko boards at home without causing any load on your wallet. Grab recycled MDF board or plywood to make a Plinko board as they are evenly flat always, an important requirement for a Plinko board game to work well. So, building a Plinko board will be a big fun way to keep using your leftover supplies of MDF or plywood boards. For different design inspirations, open this collection of 8 DIY Plinko Boards having all the sizes from miniature to medium to extra large.
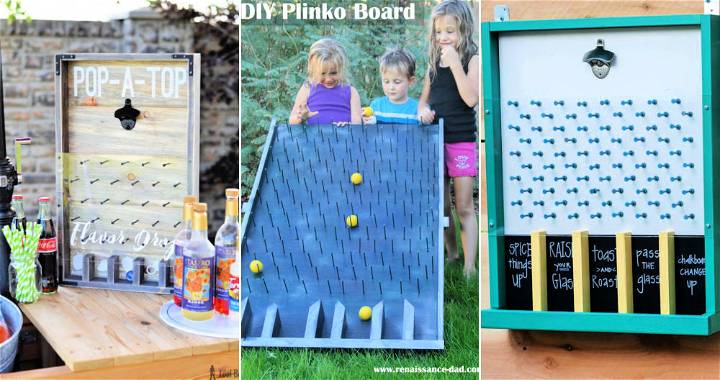
Most of the constructions are all about accurate wood cuttings and precise hole drilling. With the provided step-by-step instructions and visual tutorials, it will be easier for a beginner to build a Plinko board like a pro.
There are so many different homemade Plinko board options for the hooks, using wooden pegs, or grab the offset nails to add the boards’ hurdles. Cut your MDF or plywood board to size, mark the lines for holes, and start drilling the holes. Add accent side trimming and adorn your boards more with a plexiglass front. For more creative info, check out all these DIY Plinko Board Projects contain self-standing designs too.
1. DIY Backyard Plinko Party Game
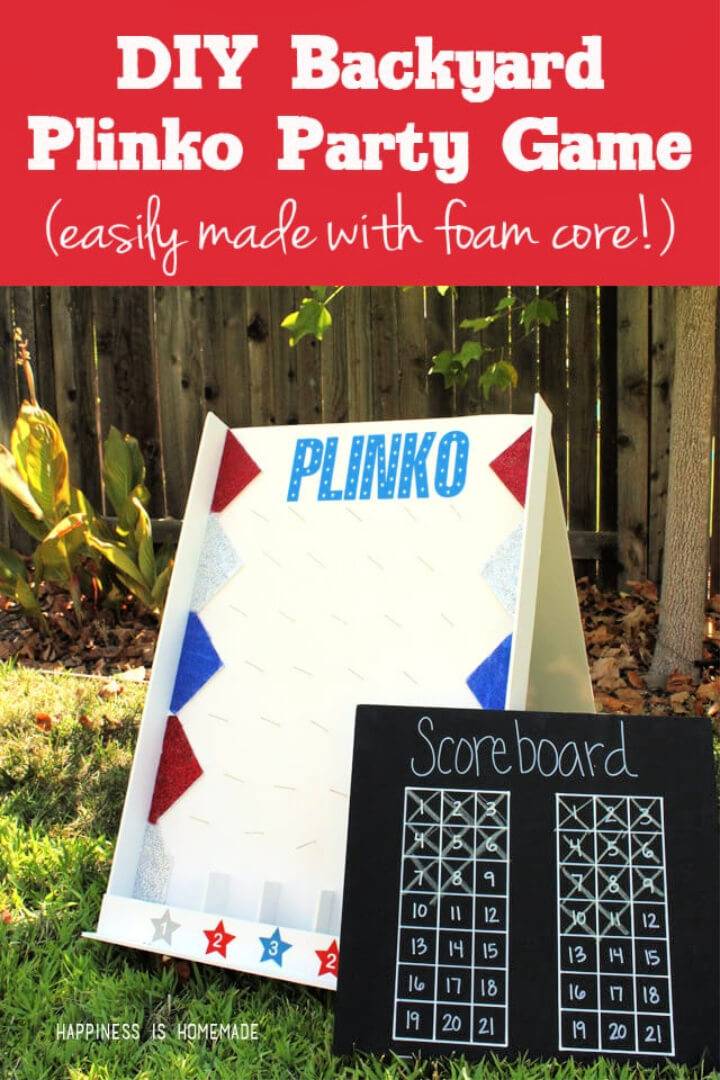
Increase the backyard fun of your kids to peak level by making this plinko party game! Create it using 3 foam boards having size 30″ x 20″! Next, you need glue, duct tape, and toothpicks to get this party game made! It will create too much fun for the kids in-home or at the party! happinessishome
2. How to Make a Plinko Board
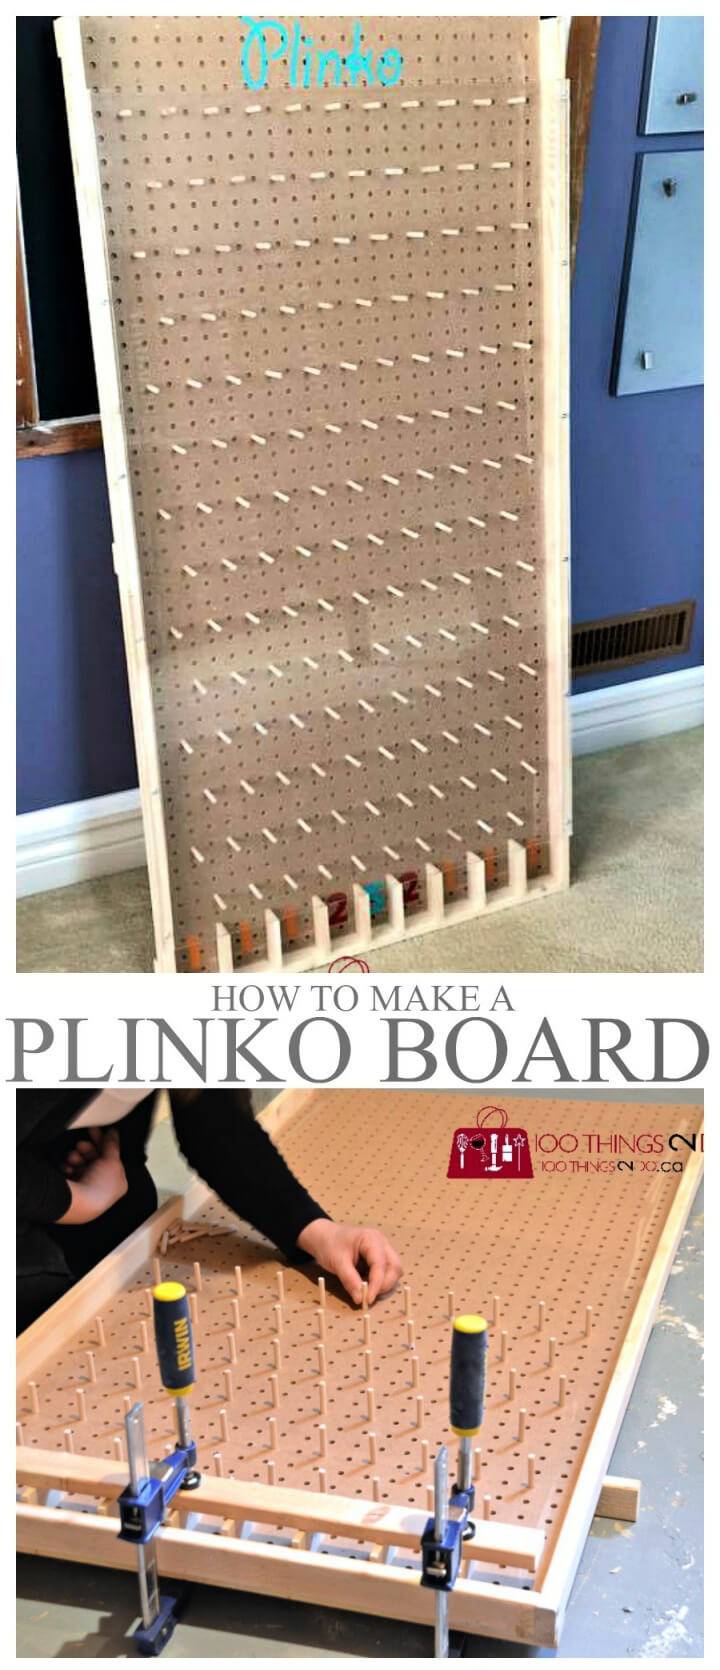
Make a Plinko board quickly using a pegboard, MDF board, and wood dowels! This DIY Plinko board is large in size and is quite something quick to build! Use a Kreg Jig system to hold the glued parts firmly in place! 100things2do
3. Make Your Own Plinko Board

Make this Plinko board using MDF boards and hinges of choices. The constructions are all about to hinge together the MDF board panels to build a Plinko board in which you can drill parallel lines of holes to gain a pegboard. Add the wooden pegs and let the game pieces drop-down, hitting the hurdles. littlethings
4. How to Build a Plinko Board
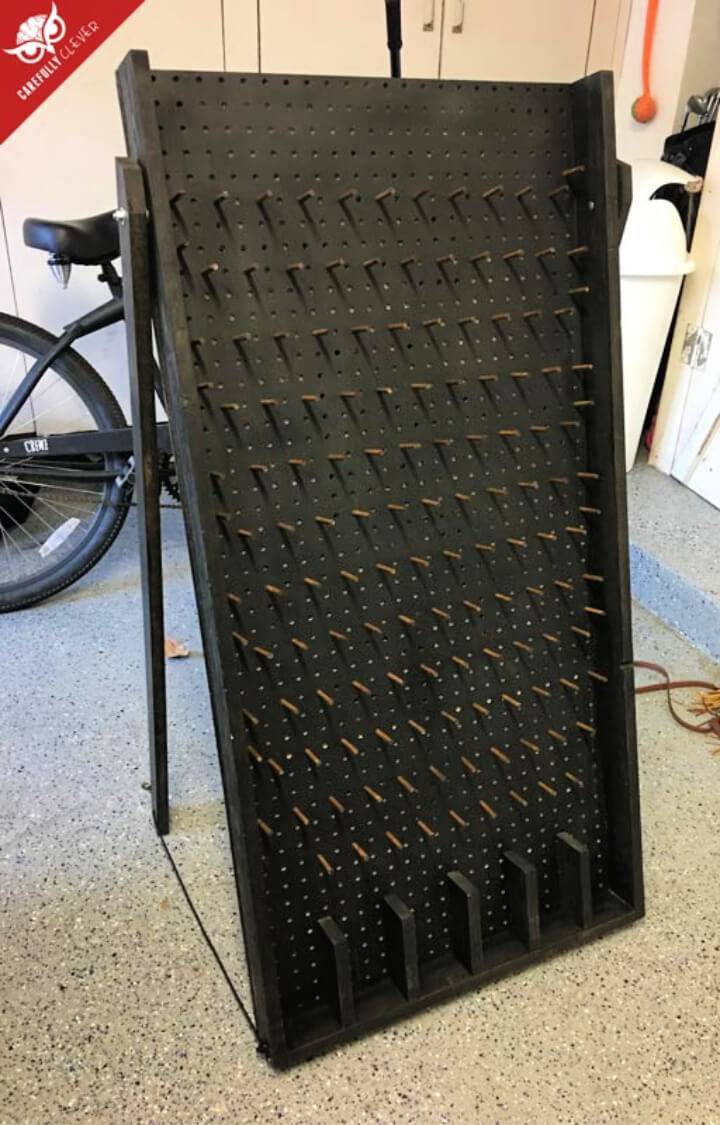
Spice up your backyard parties by adding some fun games that a whole family will love to play. Make this Plinko board that can stand alone in a stand and set to any particular angle. Grab the custom wood pieces, MDF or plywood, and a drill to make this black Plinko board. It will work up super quickly. carefullyclever
5. DIY Plinko Board Game from Cardboard

Building Plinko boards out of wooden boards is excellent, but this is not the only medium. Make best-looking Plinko boards in paper or cardboard medium too. Have great fun by making this miniature Plinko board using cardboard. A tremendous recycled project that results in a fun kids’ game. instructables
6. DIY Plinko-inspired Game for Yard Party
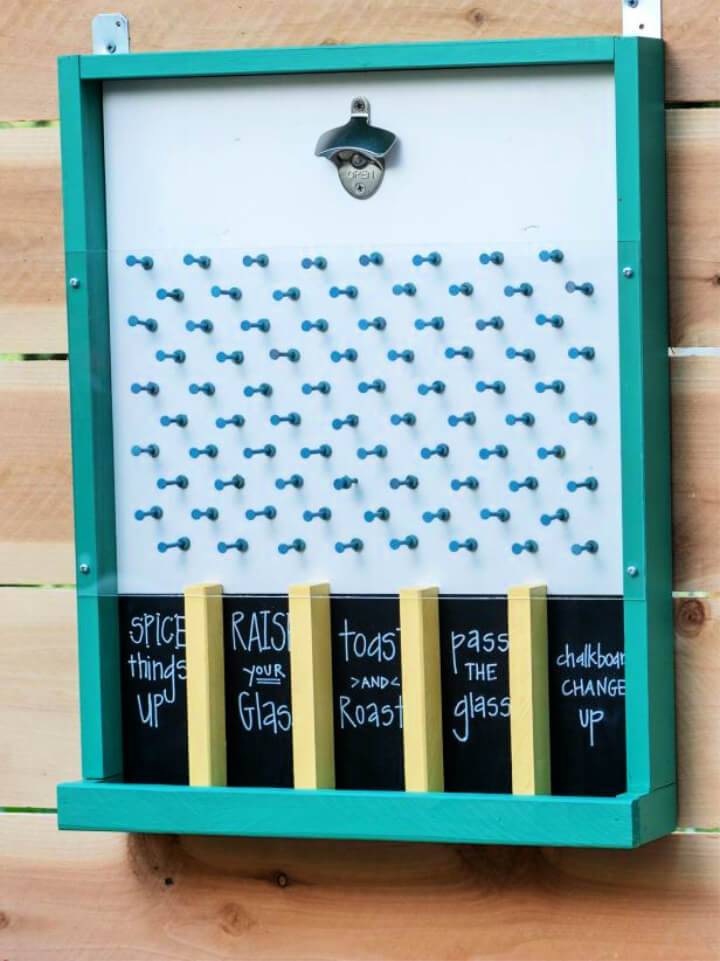
Are you addicted to backyard parties that involve great family gatherings? Then time to spice up the things by adding some fun games. This time do this by adding this plinko inspired game. It would be best to have plywood, Plexiglas, and custom wood slats for building frame while building this game board. Details here diynetwork
7. DIY Plinko – Great for Carnivals, Birthday
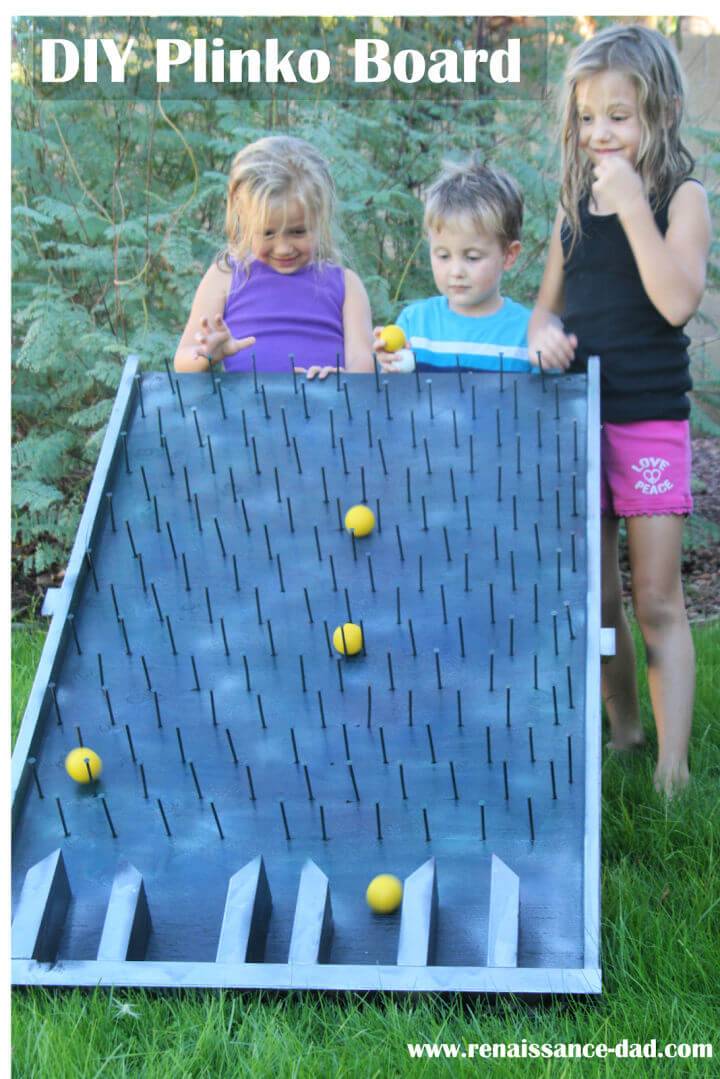
Turn plywood into a big kids’ fun by making this Plinko game board. A smart project to do with the leftover plywood. Install wooden boundary to all-around a plywood panel, drill holes, add wooden pegs, and finally set the game board to a custom angle to let the fun start. How-to details here renaissance
8. DIY Plinko Board Bottle Opener Game

Time to double up the fun of your backyard parties by adding a gaming bottle opener. How to Make a Plinko board GAME? Build this Plinko board using leftover plywood, nails, or wooden pegs. Install the wooden boundary and strengthen them in place using metal plates. Finish with a plexiglass front, or keep it open. How-to guides here hertoolbelt


